
4. Setting Up a CI/CD Pipeline with Jenkins for a Django App Using Declarative Pipeline


Introduction
In this tutorial, we'll walk through how to set up a CI/CD pipeline for a Django-based project using Jenkins. We’ll be automating the process of building a Docker image, pushing it to DockerHub, and deploying it, all through a Declarative Pipeline in Jenkins.
We will use the Django-Notes-App repository as an example.
GitHub Repository:
- Repository: Django-Notes-App
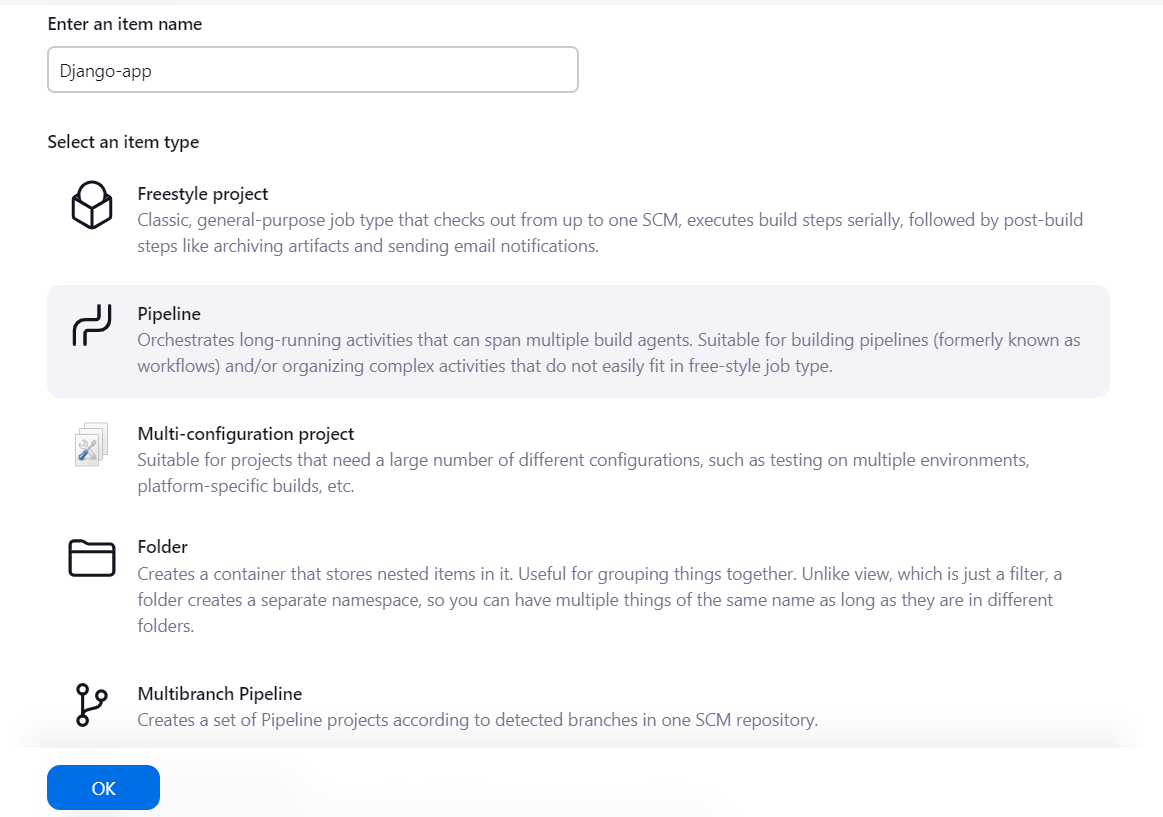
1. Create a New Pipeline Job in Jenkins
First, you need to create a new pipeline job in Jenkins to automate the CI/CD process.
Steps to Create a New Pipeline Job:
Navigate to Jenkins Dashboard → New Item.

Select Pipeline and give it a name, such as
Django-app.Click OK to create the pipeline job.
2. Install Pipeline Stage View Plugin
To visualize the stages of the pipeline, you'll need to install the Pipeline Stage View plugin.
Steps to Install the Plugin:
Go to Manage Jenkins → Manage Plugins.
Search for Pipeline Stage View under the Available tab.
Install the plugin and restart Jenkins

.
3. Enable GitHub Webhook Triggers
To make the pipeline trigger automatically when changes are pushed to the repository, we need to configure GitHub Webhooks.
Steps to Enable GitHub Webhooks:
Go to the Jenkins job configuration page.
Under Build Triggers, enable the GitHub hook trigger for GITScm polling option

.
Set up a webhook in your GitHub repository:
Navigate to GitHub Repository → Settings → Webhooks

.
Add a new webhook pointing to your Jenkins server URL (e.g.,
http://<your-jenkins-server>/github-webhook/)


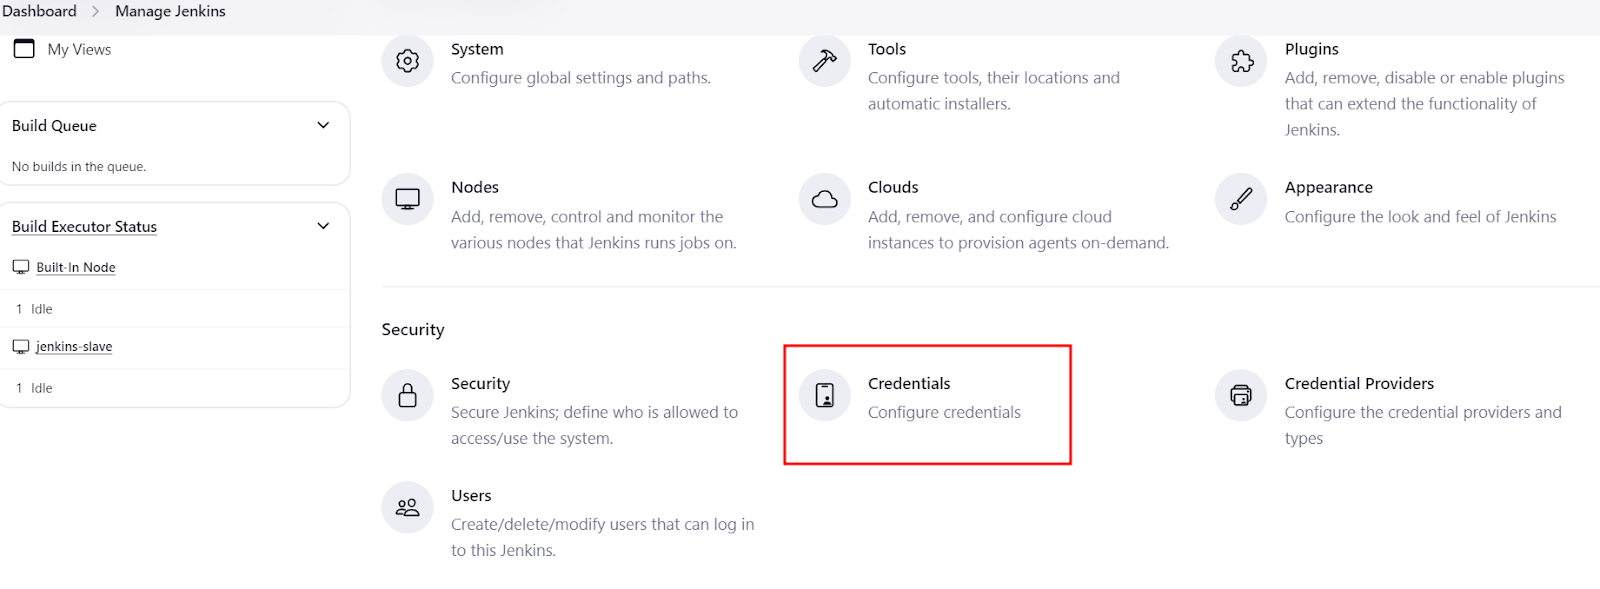
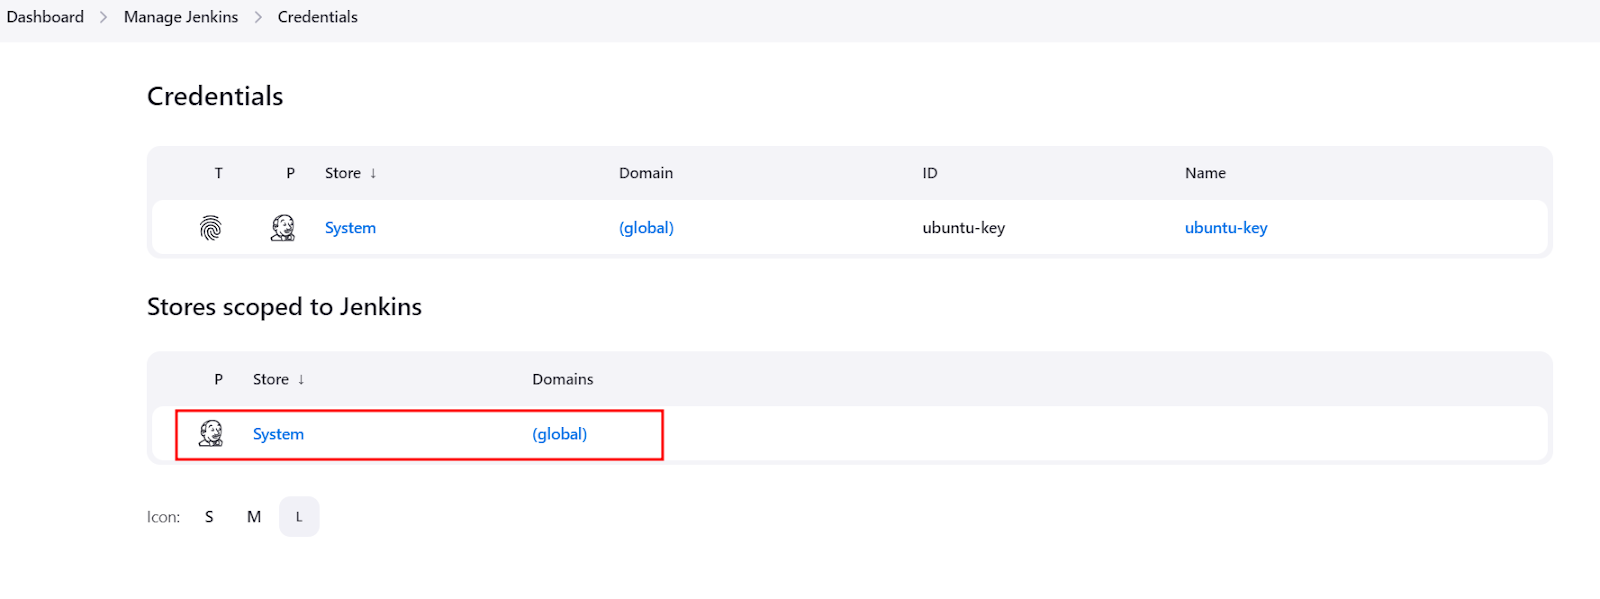
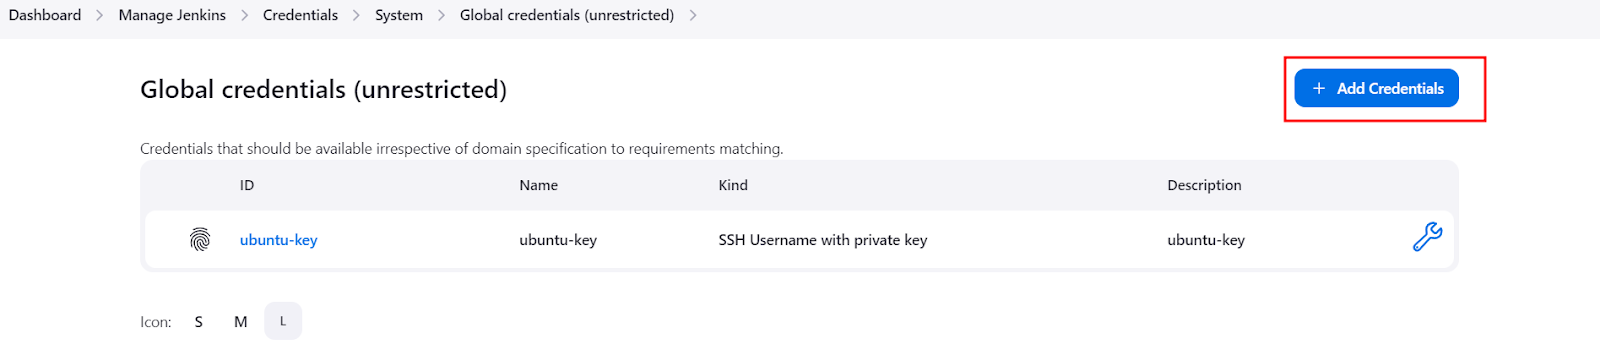
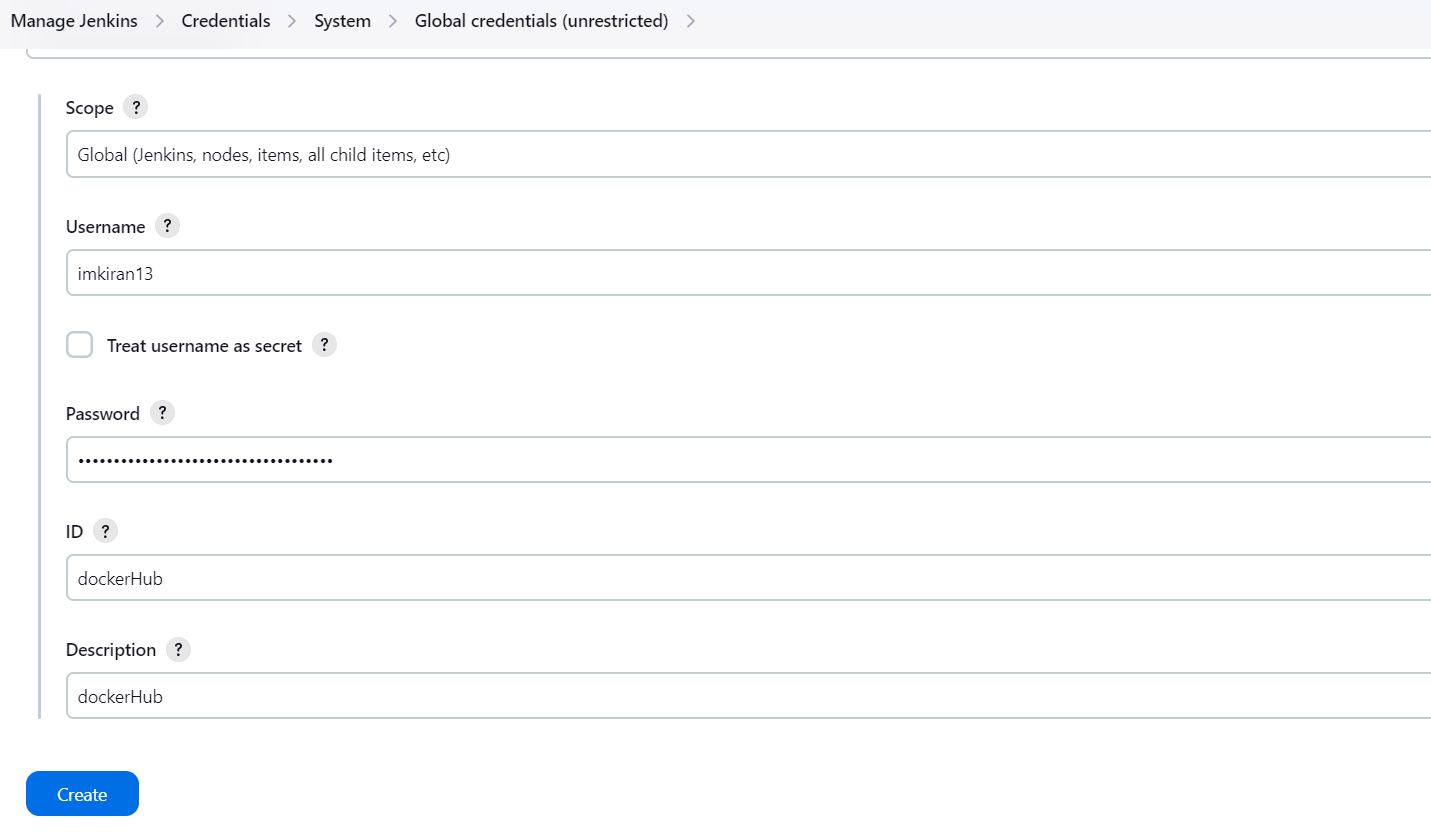
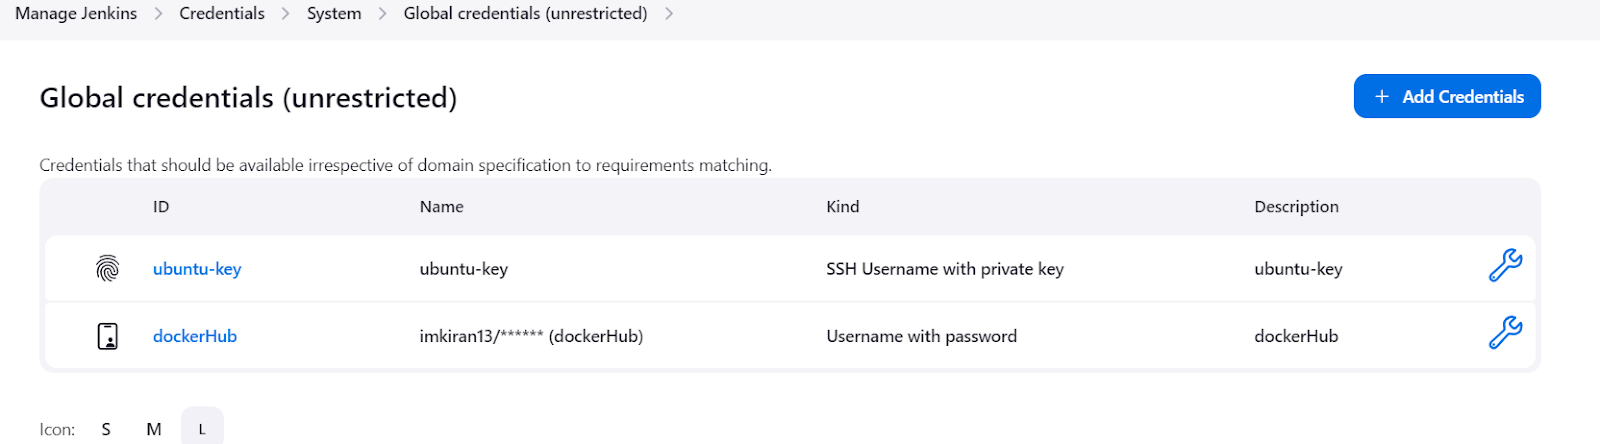
4. Create dockerhub credentials
Go To dockerhub login and create personal access token
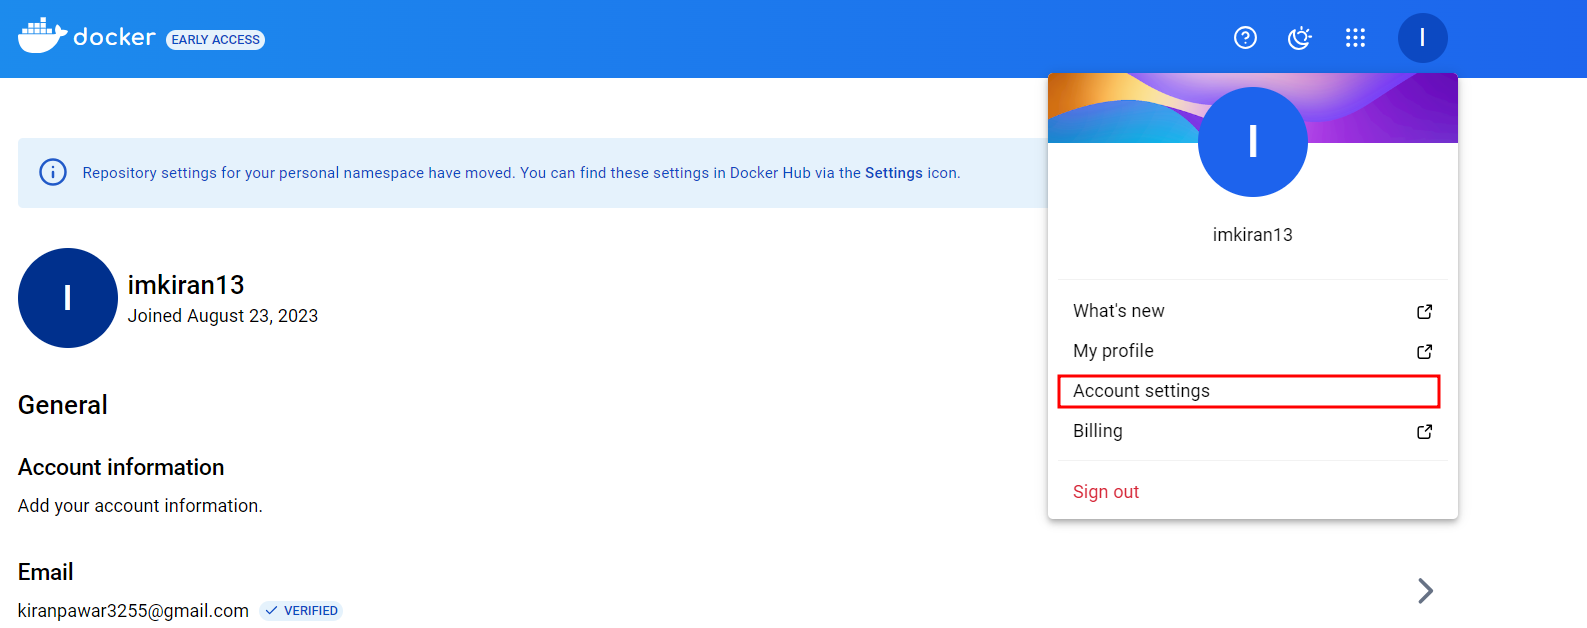
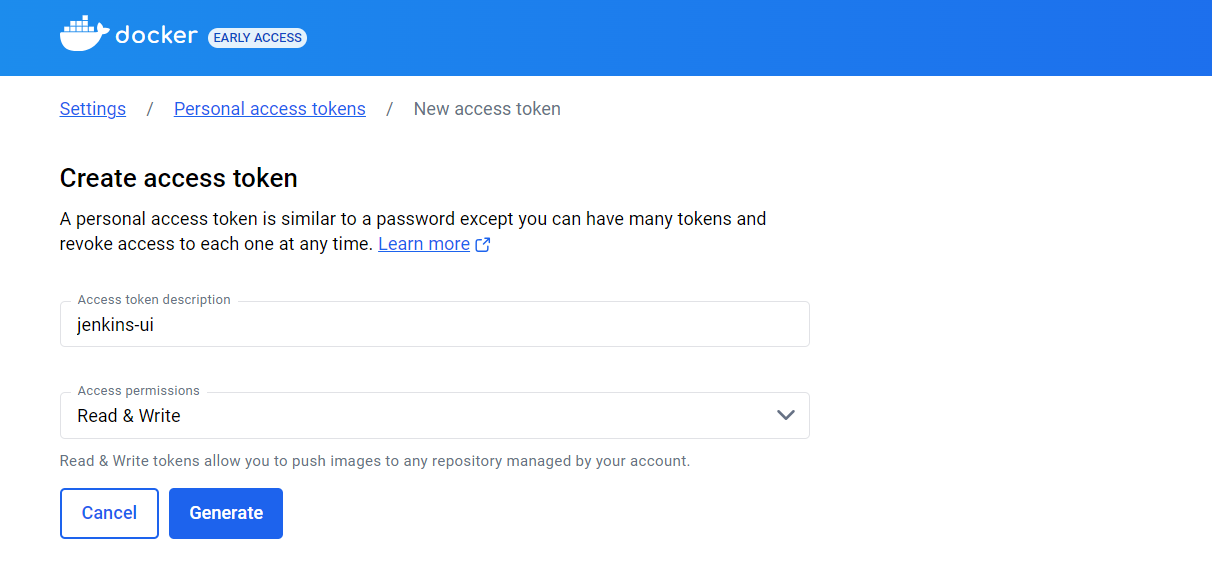
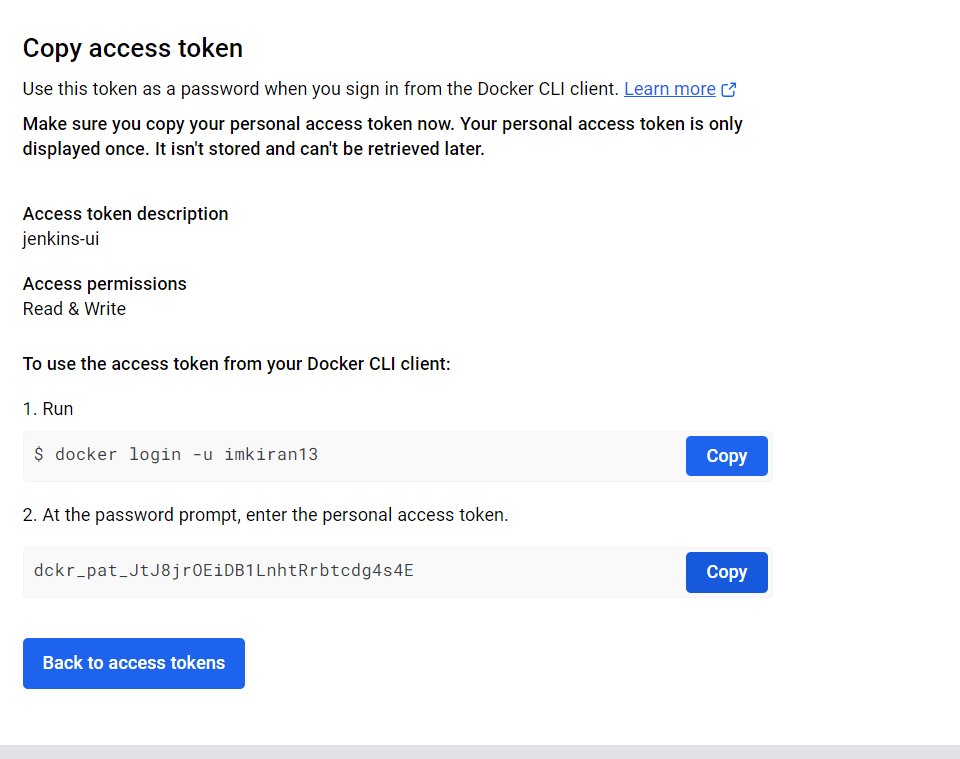
Copy personal access token and create credentials in jenkins UI
5. Define the Declarative Pipeline
Now, we will define the CI/CD pipeline in Declarative Pipeline syntax


Pipeline Code:
pipeline {

    agent { label "jenkins-slave" }


    stages {

        stage('Checkout') {

            steps {

               git branch: 'main', url: 'https://github.com/imkiran13/Django-Notes-App.git'

            }

        }


        stage('Docker build') {

            steps {

               sh 'docker build -t notes-app:latest .'

            }

        }


        stage('Push image to Dockerhub') {

            steps {

               withCredentials([usernamePassword(credentialsId: "dockerHub", passwordVariable: "dockerHubPass", usernameVariable: "dockerHubUser")]) {

                   sh 'docker login -u $dockerHubUser -p $dockerHubPass'

                   sh 'docker tag notes-app:latest $dockerHubUser/notes-app:latest'

                   sh 'docker push $dockerHubUser/notes-app:latest'

               }

            }

        }


        stage('Docker Deploy') {

            steps {

               sh 'docker run -d -p 8000:8000 notes-app:latest'

            }

        }

    }

}
Explanation of Pipeline Stages:
Checkout:
This stage checks out the code from the Django-Notes-App GitHub repository.Docker Build:
This stage builds a Docker image with the tagnotes-app:latestfor the Django app.Push to DockerHub:
It logs in to DockerHub using credentials stored in Jenkins and pushes the built Docker image to DockerHub.Docker Deploy:
This stage runs the Docker container on port 8000, making the app available.
6. Run the Declarative Pipeline
Check dockerhub repository for Newly added docker image


To check webhook Trigger Now go to dockercompose file and change image path as per dockerhub we will see pipeline trigger automatically


Pipeline Code for docker compose deploy:
pipeline {

    agent { label "jenkins-slave" }


    stages {

        stage('Checkout') {

            steps {

               git branch: 'main', url: 'https://github.com/imkiran13/Django-Notes-App.git'

            }

        }


        stage('Docker build') {

            steps {

               sh 'docker build -t notes-app:latest .'

            }

        }


        stage('Push image to Dockerhub') {

            steps {

               withCredentials([usernamePassword(credentialsId: "dockerHub", passwordVariable: "dockerHubPass", usernameVariable: "dockerHubUser")]) {

                   sh 'docker login -u $dockerHubUser -p $dockerHubPass'

                   sh 'docker tag notes-app:latest $dockerHubUser/notes-app:latest'

                   sh 'docker push $dockerHubUser/notes-app:latest'

               }

            }

        }


        stage('Docker Deploy') {

            steps {

            sh "docker-compose down && docker-compose up -d"

            }

        }

    }

}

Conclusion
In this tutorial, we’ve successfully set up a CI/CD pipeline using Jenkins Declarative Pipeline for a Django app. Now, every time you push changes to your GitHub repository, Jenkins will automatically build and deploy the application.
🚀 Next Steps:
Add more stages to your pipeline for testing and monitoring.
Scale the pipeline with additional stages like linting or running unit tests before deploying.
Integrate with cloud platforms (AWS, Azure, GCP) for automated deployment.
Let me know if you need further assistance or modifications! 😊
Let me know if you'd like any adjustments or further additions!