


Jenkins is a powerful open-source automation server that facilitates Continuous Integration (CI) and Continuous Deployment (CD). It allows developers to automate the software development lifecycle, including building, testing, and deploying applications. In this blog, we will cover the basics of Jenkins, its setup on an AWS EC2 instance, installation steps, and an overview of its UI.
📍 Introduction to Jenkins & CI/CD
What is Jenkins?
Jenkins is an automation tool that helps streamline the CI/CD pipeline. It integrates with various tools like Git, Docker, Kubernetes, and cloud providers to enable smooth software delivery.
Why Use Jenkins?
Automates repetitive tasks like builds and deployments.
Enhances collaboration between development and operations teams.
Supports multiple plugins for integrating with various DevOps tools.
Improves code quality through automated testing.
📍 Jenkins Setup on AWS EC2
To set up Jenkins on an AWS EC2 instance, follow these steps:
Step 1: Launch an EC2 Instance
Log in to the AWS Console.
Navigate to EC2 Dashboard and click Launch Instance.
Select an AMI (preferably Ubuntu 22.04.

)
Choose an instance type (e.g., t.2 large with 20GB ubuntu OS for better performance).
Configure security group:
Allow port 8080 (for Jenkins UI access).
Allow port 22 (for SSH access).
Launch the instance and connect via SSH.


Step 2: Install Prerequisites
Run the following commands to update packages and install Java (required for Jenkins):
sudo apt update -y
sudo apt install openjdk-17-jre-headless -y
java -version  # Verify Java installation

📍 Jenkins Installation
Step 1: Add Jenkins Repository
sudo wget -O /usr/share/keyrings/jenkins-keyring.asc https://pkg.jenkins.io/debian-stable/jenkins.io-2023.key
echo "deb [signed-by=/usr/share/keyrings/jenkins-keyring.asc] https://pkg.jenkins.io/debian-stable binary/" | sudo tee /etc/apt/sources.list.d/jenkins.list > /dev/null

Step 2: Install Jenkins
sudo apt update -y
sudo apt install jenkins -y

Step 3: Start and Enable Jenkins
sudo systemctl start jenkins
sudo systemctl enable jenkins

Step 4: Verify Jenkins Service
sudo systemctl status jenkins
If the service is running, you should see an Active: running status.

📍 Accessing Jenkins UI/Dashboard & Creating Jobs
Step 1: Retrieve Admin Password
sudo cat /var/lib/jenkins/secrets/initialAdminPassword

Copy the password and open Jenkins in a web browser:
http://<EC2-Public-IP>:8080
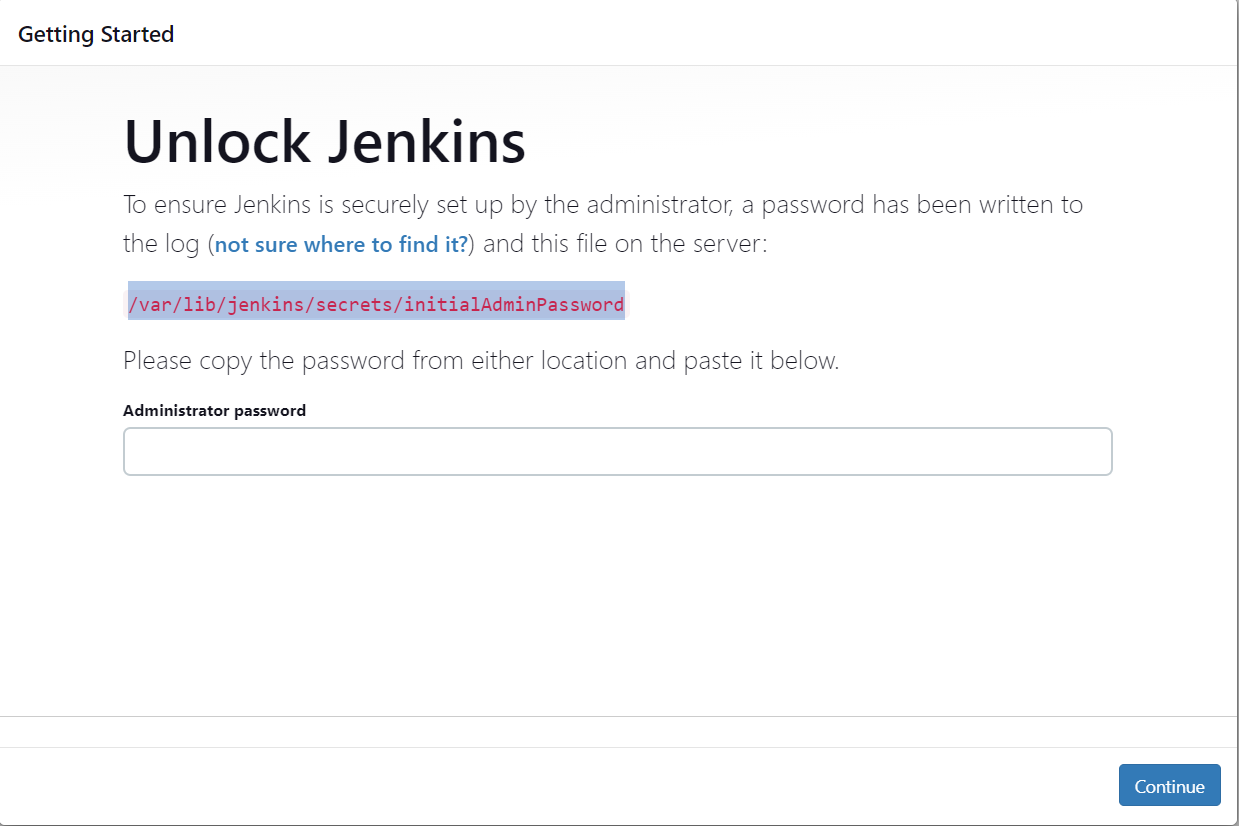
Paste the password when prompted and proceed with the setup.
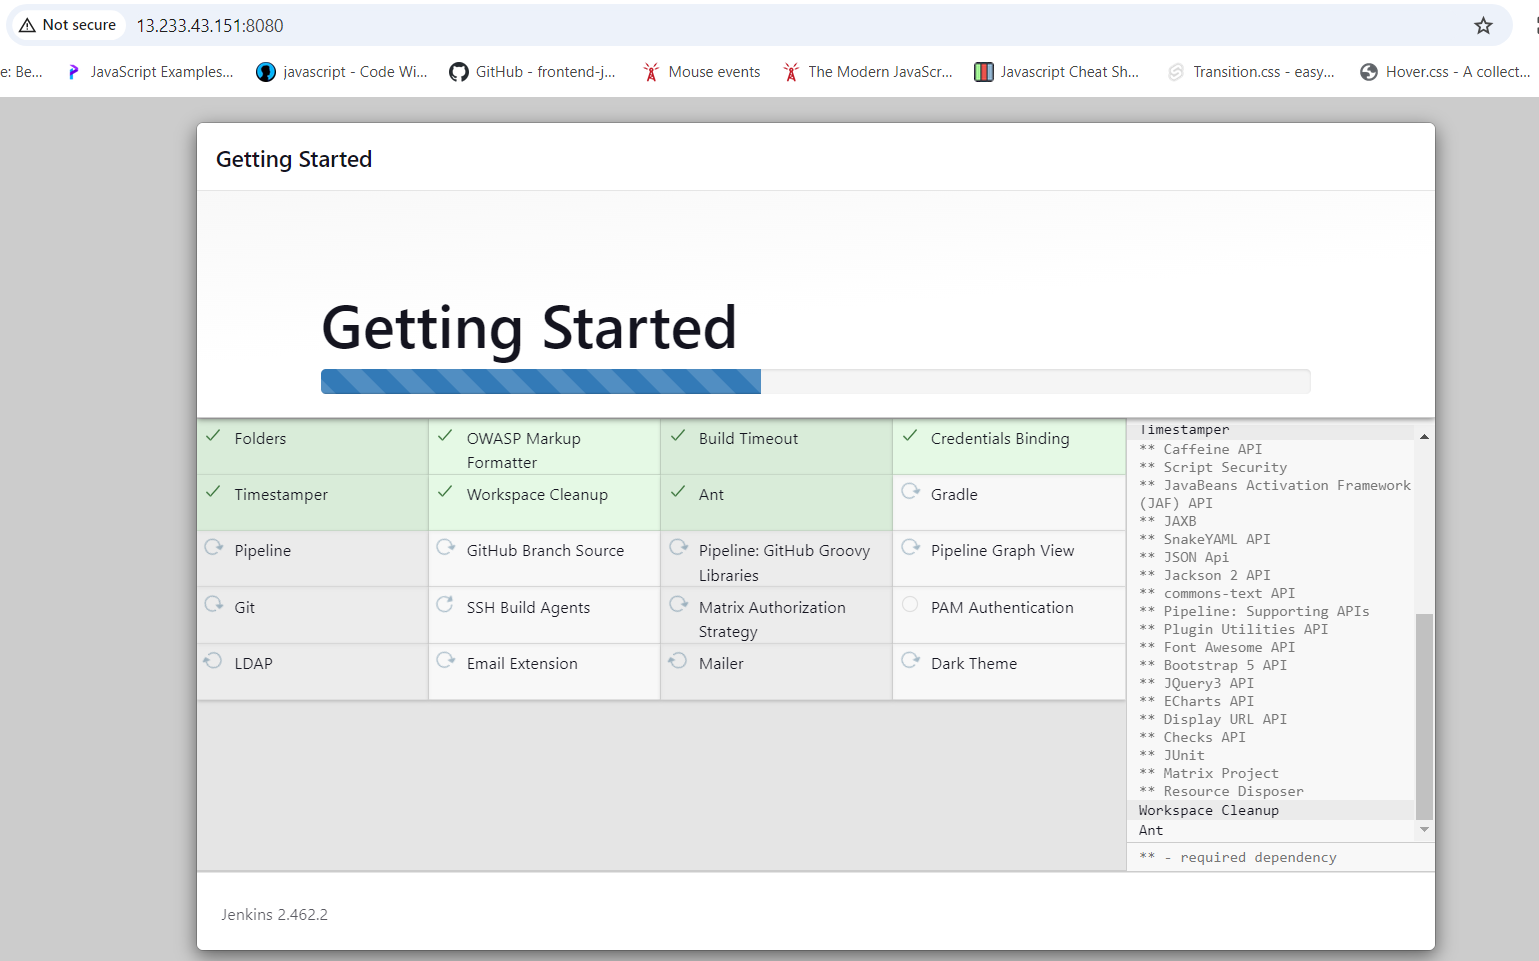
Step 2: Install Suggested Plugins
After login, choose Install suggested plugins to get essential integrations.

Step 3: Create First Admin User
Set up a new admin username and password, then continue


Step 4: Jenkins Dashboard Overview
The Jenkins dashboard consists of:
New Item: Create new jobs (Freestyle, Pipeline, Multibranch, etc.).
Build Executor Status: Shows active and available executors.
Manage Jenkins: Configure settings, security, and plugins.
My Views: Customize dashboard views

.
Step 5: Creating Your First Job
Click New Item → Enter Job Name

Choose Freestyle Project

Configure Git repository and build steps

.
Click Save and Build Now


View build progress in the Build History section


Conclusion
Jenkins is a must-have tool for DevOps engineers, enabling seamless CI/CD implementation. This guide walked you through the fundamentals of setting up Jenkins on AWS, installing it, and navigating the dashboard. Stay tuned for more advanced Jenkins topics in upcoming blogs!
🔥 What’s Next?
Configuring Jenkins Pipelines
Integrating Jenkins with GitHub
Automating Deployments with Jenkins
Let me know your thoughts and experiences in the comments! 🚀